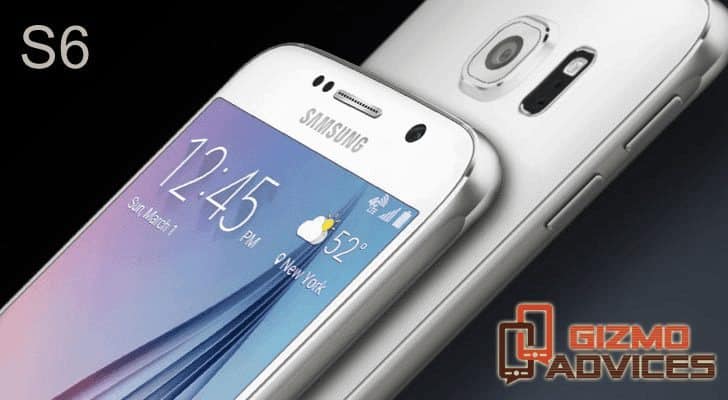
This tutorial shows how to install TWRP Recovery on Galaxy S6 Android Smartphone – All Models (SM-G920P, SM-G920T, SM-G920K, SM-G920L, SM-G920S, SM-G920F, SM-G920FD, SM-G920I, SM-G9200, SM-G9208, and SM-G9209)
Earlier we have shared a tutorial on how to root Galaxy S6 using CF-Auto Root and today we are going to install TWRP Custom Recovery on Galaxy S6 on almost all models. Once you have installed TWRP Recovery you can Root your device and install Custom ROM and other mods on your Galaxy S6. If your device model doesn’t have CF-Auto Root then don’t worry after installing TWRP Recovery you can root your device by flashing the SuperSU rooting package, which contains SU binaries and the SuperSU application.
This tutorial supports almost all the Galaxy S6 models, still you can check if your device model is listed below or not.
- SM-G920P
- SM-G920T
- SM-G920K
- SM-G920L
- SM-G920S
- SM-G920F
- SM-G920FD
- SM-G920I
- SM-G9200
- SM-G9208
- SM-G9209
If you can see your Galaxy S6 model listed in the above list then just proceed with the tutorial and install TWRP Recovery on Galaxy S6.
Note: Don't try to flash the TWRP Recovery image provided in this guide on Verizon and AT&T models of Samsung Galaxy S6, as they come with locked Bootloader.
Getting Prepared:
- Don’t forget to make a complete backup of all of your data to safe place.
Backup and Restore SMS
Backup and Restore Contacts
Backup and Restore Call Logs
Backup files on internal storage to PC
- Make sure USB Debugging is enabled on Galaxy S6. If not, follow here.
- Charge Galaxy S6 to at least 75%, before you proceed.
- Download and install Samsung USB Drivers on PC.
- Backup EFS Data.
- Kill Samsung Kies and other PC suits from Task Manager on PC, to avoid interference.
Disclaimer: We are not responsible for any damage to your Samsung Galaxy S6 Android Smartphone. Also changing and altering System files voids your device warranty, so we recommend to think twice before you proceed with the below steps.
Downloads:
- TWRP Recovery - SM-G920P | SM-G920T | SM-G920K | SM-G920L | SM-G920S | SM-G920F | SM-G920FD | SM-G920I | SM-G9200 | SM-G9208 | SM-G9209
- Odin Flash Tool
- SuperSU Package
Also Read: How to Root Samsung Galaxy E7 – All Models
How to Install TWRP Recovery on Galaxy S6:
Step 1: Download the TWRP Recovery image file for your device model from the download section.
Step 2: Run Odin on PC as administrator.
Step 3: Boot Galaxy S6 into Download Mode.
- Power off Galaxy S6.
- Press and hold Volume Down + Home + Power buttons simultaneously until you see warning screen.
- Press Volume Up as shown in the warning message to boot into Download Mode.
Step 4: Connect Galaxy S6 to PC using appropriate USB data cable.
Step 5: Follow the Odin guide and install the TWRP Recovery on Galaxy S6.
Step 6: Reboot Galaxy S6.
If you haven’t rooted your Galaxy S6 and want to Root it after you have installed TWRP Recovery then below steps might help you.
How to Root Galaxy S6 All Models:
Step 1: Download the SuperSU Package from the download section.
Step 2: Place it in the Root of your internal storage.
Step 3: Boot Galaxy S6 into Recovery Mode.
- Power off Galaxy S6.
- Press and hold Volume Up + Home + Power buttons simultaneously.
Step 4: Follow our exclusive guide on how to install zip packages using Recovery and install SuperSU package on Galaxy S6.
Step 5: Reboot Galaxy S6 and check for Root permissions using Root Checker App.
Congratulations! Now you have installed TWRP Recovery on Galaxy S6 and Rooted it. Do share this tutorial with your friends on Facebook, Twitter and Google Plus etc. and help them in getting TWRP Recovery on Galaxy S6.
Have any questions? Leave them in comment section below.
This page may contain affiliate links so we earn a commission. Please read our affiliate disclosure for more info.


How do we install TWRP recovery on S6 SM-G920A? This model seems to be missing from your list.